


If you have never used git before, there are high chances you would find it overwhelming to setup or initialize a git repo at first. Don't panic. In this post, we are going to take a look at setting up git and github step by step.
But first let's clear a very common misconception - Git and Github are same. NO!
Git vs Github
Git and Github ARE NOT SAME. Git is a distributed version control system while Github is a cloud based hosting service which manages Git repositories. Or simply put, Git is a software which manages all your source code history while Github is a service (or a website) which hosts the Git servers.
There are many alternatives of Github like GitLab, Bitbucket, etc. But Github is the most famous one. It is owned by Microsoft and free for almost all your needs. You can create public as well as private repos for free.
For understanding more about basic git terms check out my previous blog Understanding the basics of Git.
Enough of theory; now let's get started with the process.
Note: The steps are same for both Windows and Mac OS. Here I have used a Windows machine.
Installing Git on your machine
For using git, the first step you need to do is to download it through https://www.git-scm.com.
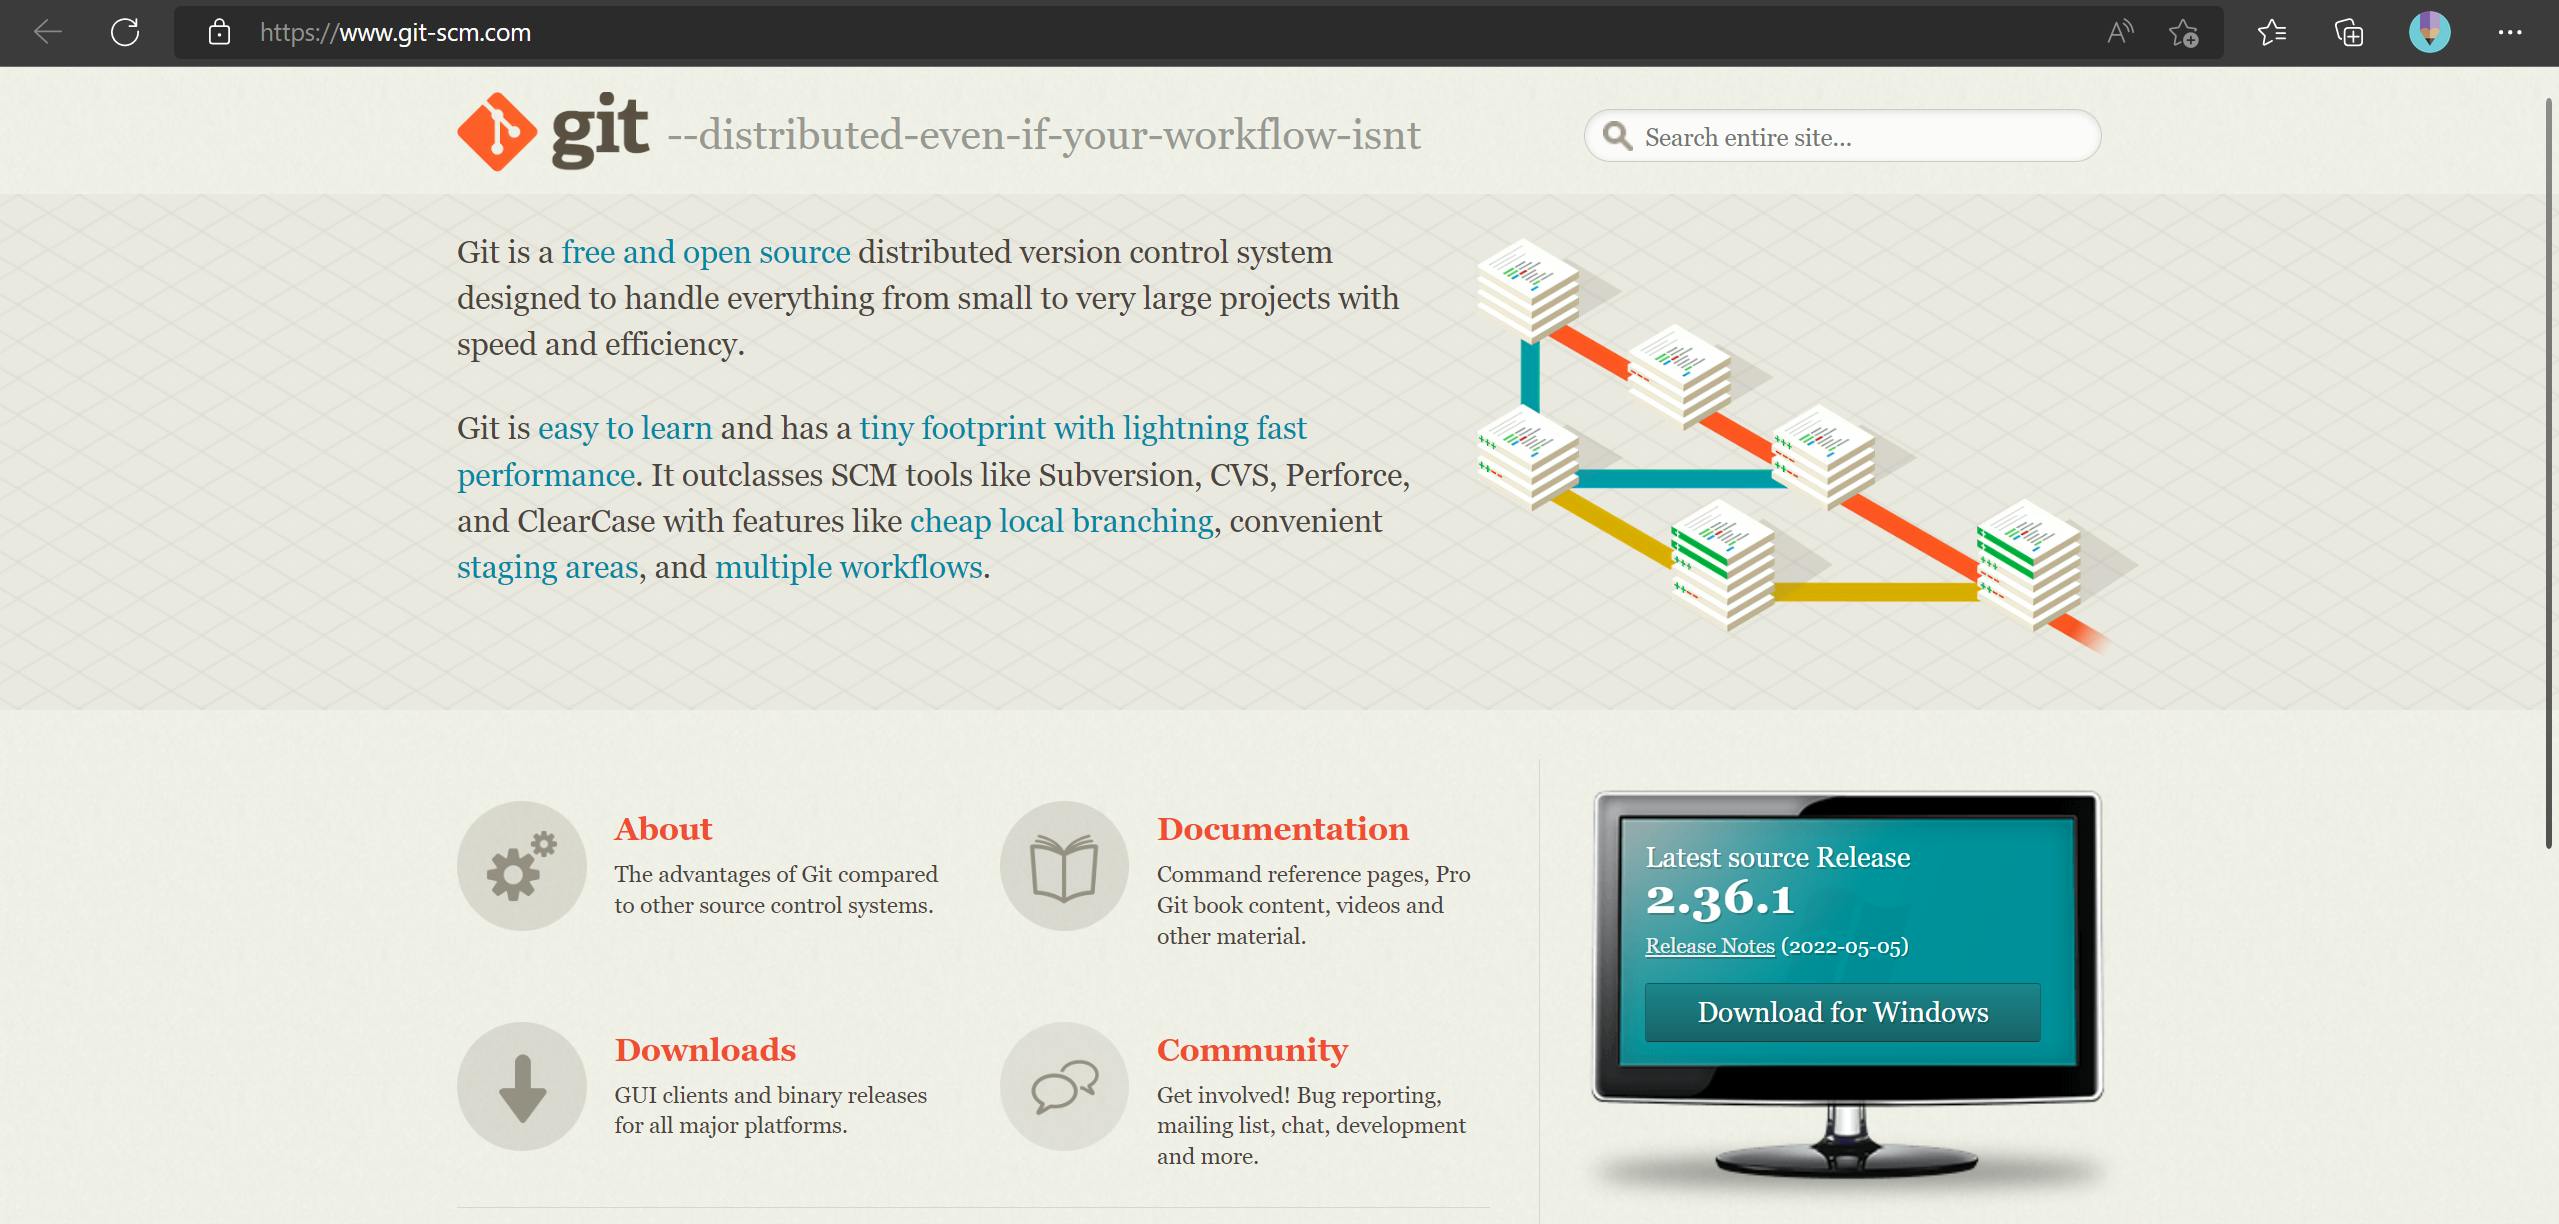
After downloading the right installer based on your system configuration (Windows/Mac OS), just install it with all the default configurations. And you are done with setting up Git. Yeah, it's that simple!😁
Now, let's create a repo on your local machine.
Creating a repo on your local machine
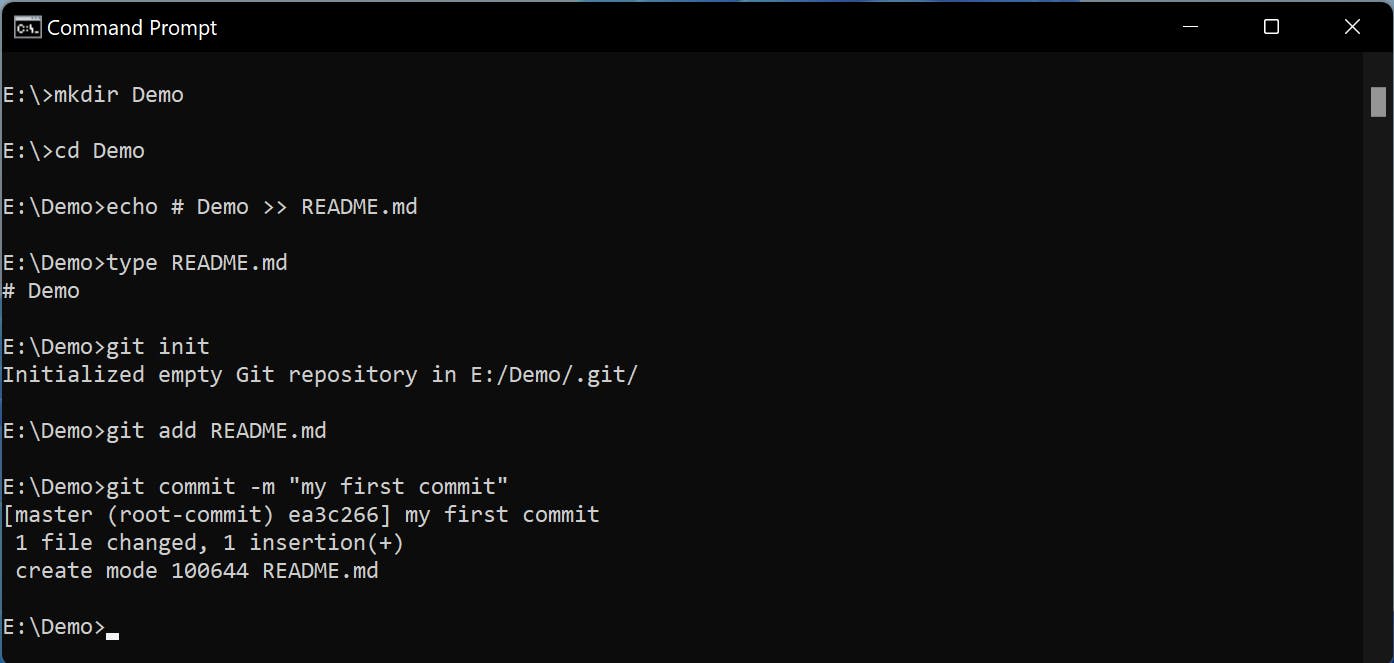
- Open Command Prompt on your PC or Terminal on your Mac.
Change the directory to your desired location and create a new folder with your project's name (or Github repo's name).
- Create a new directory:
mkdir <folder-name>. - Go to that directory:
cd <folder-name> - Create a new file:
echo # Demo >> README.md. This will create a file namedREADME.mdand write# Demoinside it. - To ensure the file is created,
- on windows:
type README.md - on Mac:
cat README.md
- on windows:
This will show the content of the
README.mdfile.- Create a new directory:
Initiate git in this folder, i.e., inform your machine that this folder would be managed by git now.
git initAdd the
README.mdfile to git, i.e., inform git to track changes of this file from now.git add README.mdIf there are multiple files, you can use
git add .to add all the files in one go.Commit your change. Commit is a way to save your changes. You can consider it as a milestone in your project. Once you do a commit, git stores that version of your files which you can come back later anytime and see.
git commit -m "my first commit"-mis a flag which stands for "message". Every time you make a commit, you must add a message to explain what this commit is about. This helps you better understand what you did to your code at this point of time.
Your local git repo is ready and you can already work on it by creating multiple branches and adding multiple commits. If you don't want to save the changes of your local machine to cloud or collaborate with others, then you can end this tutorial here.
But if you want to sync your changes over cloud to work on this project from anywhere on any machine or to work on this project together with your friends/colleagues, then follow the next steps of creating an account on Github and connecting your local git repo to repo on Github.
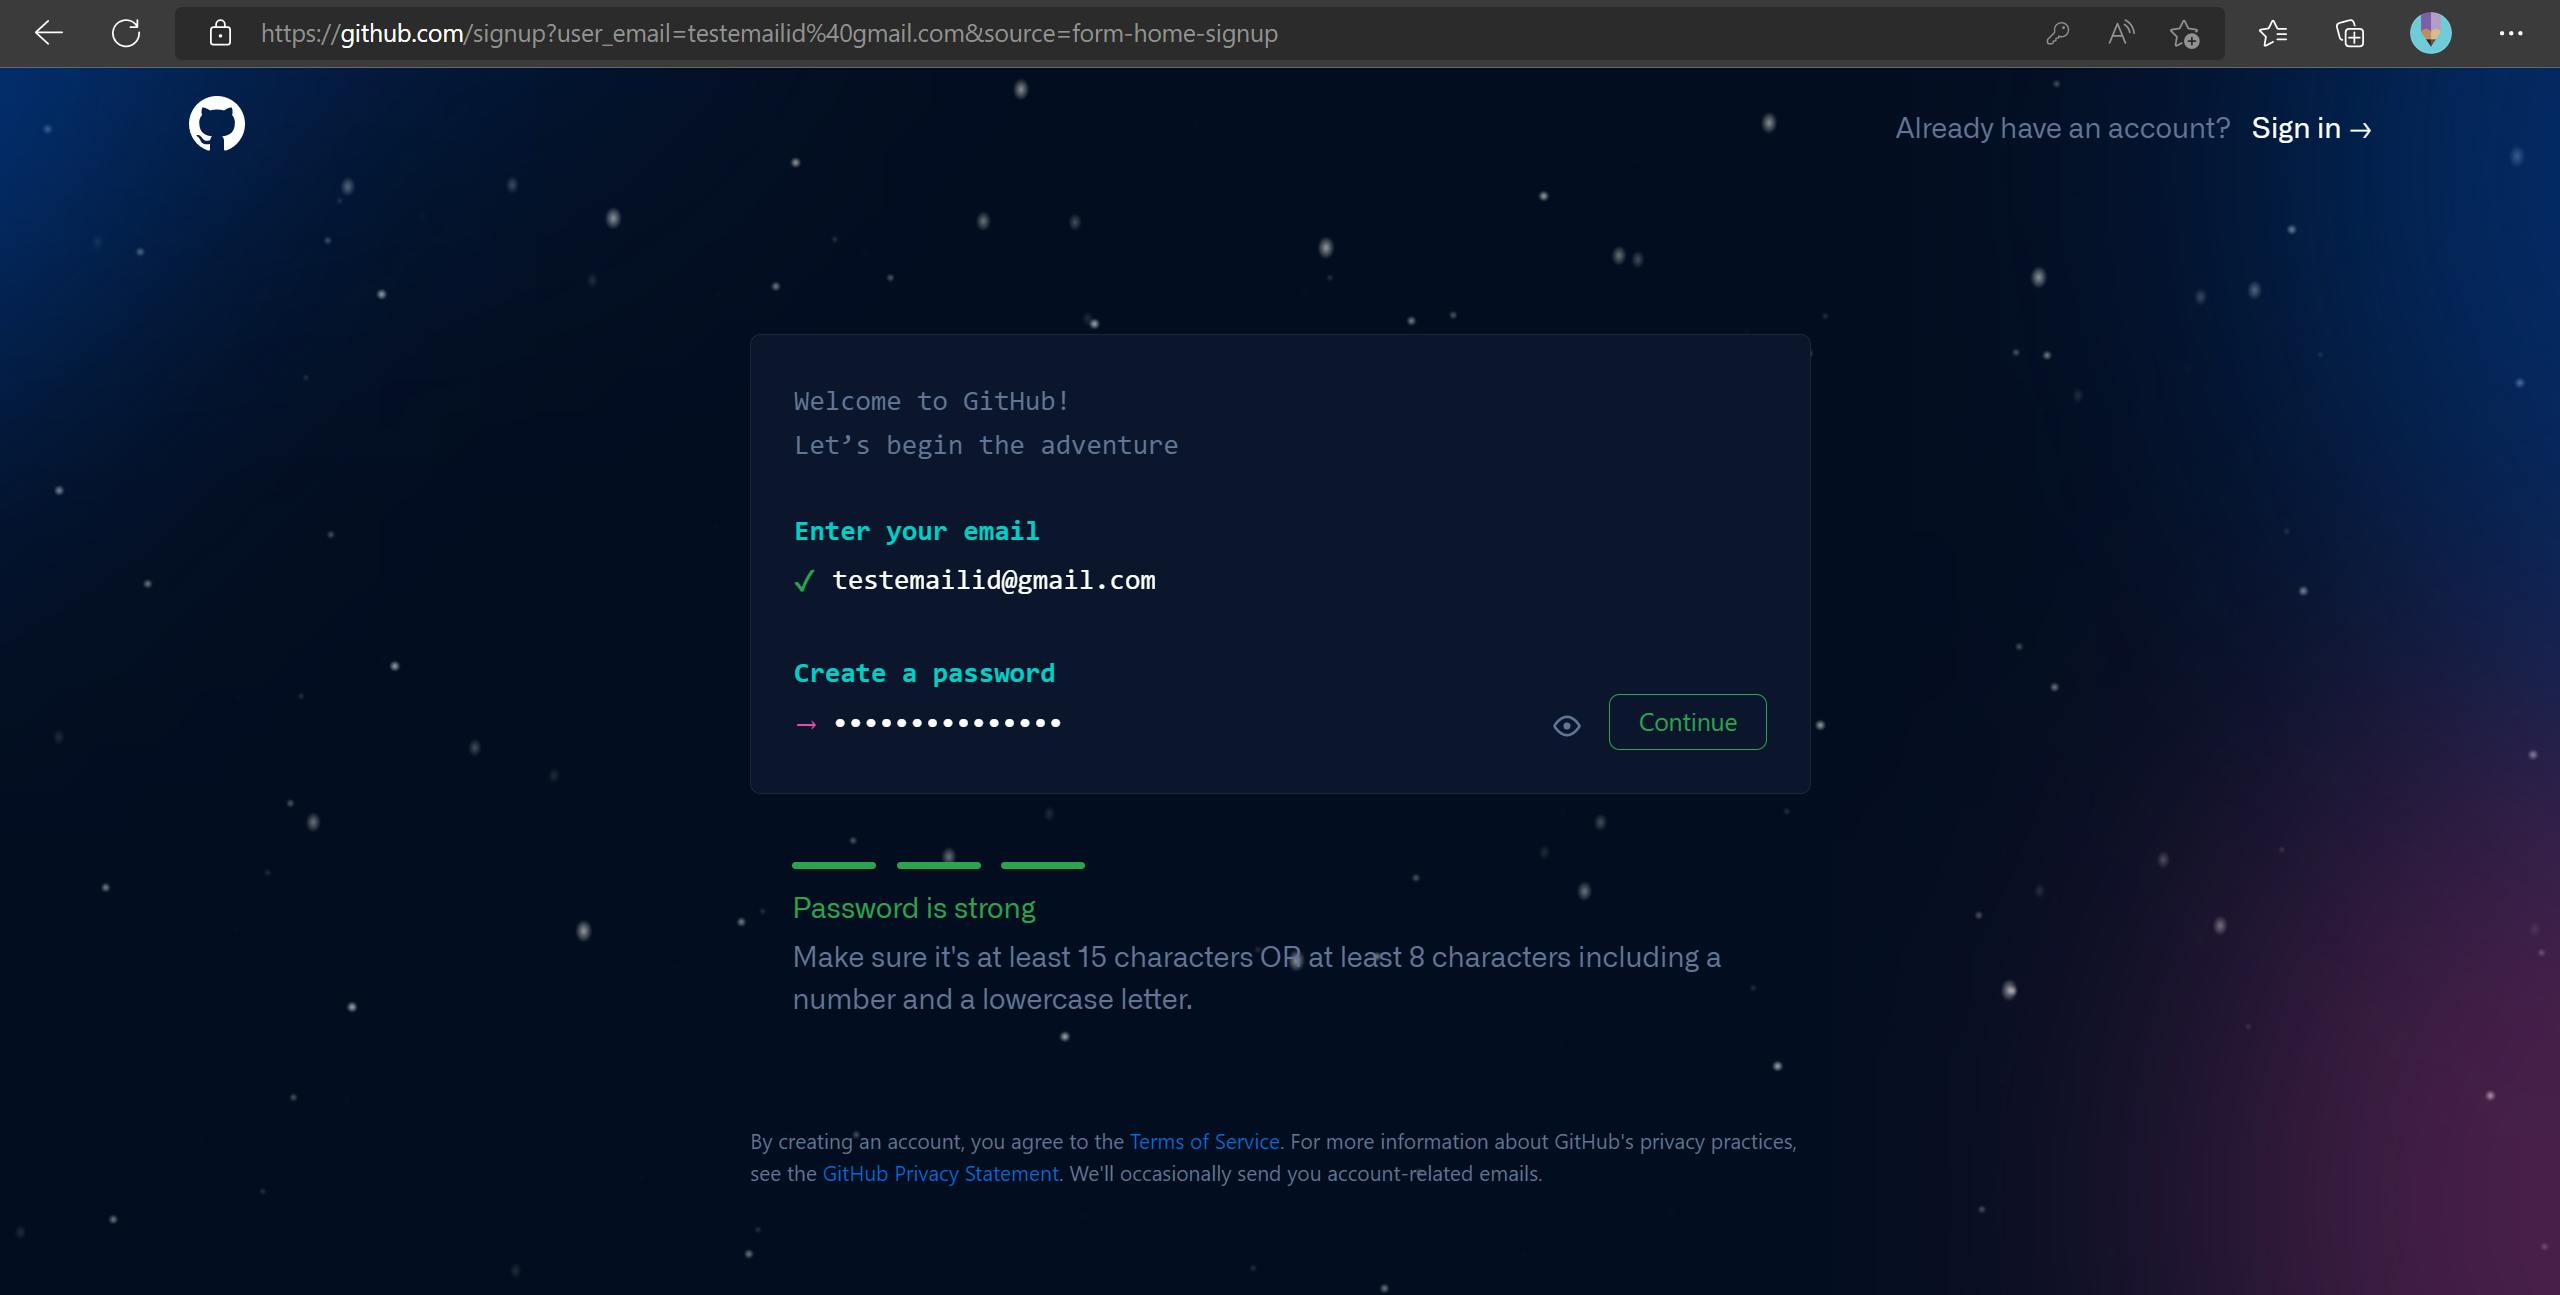
Creating a profile on Github
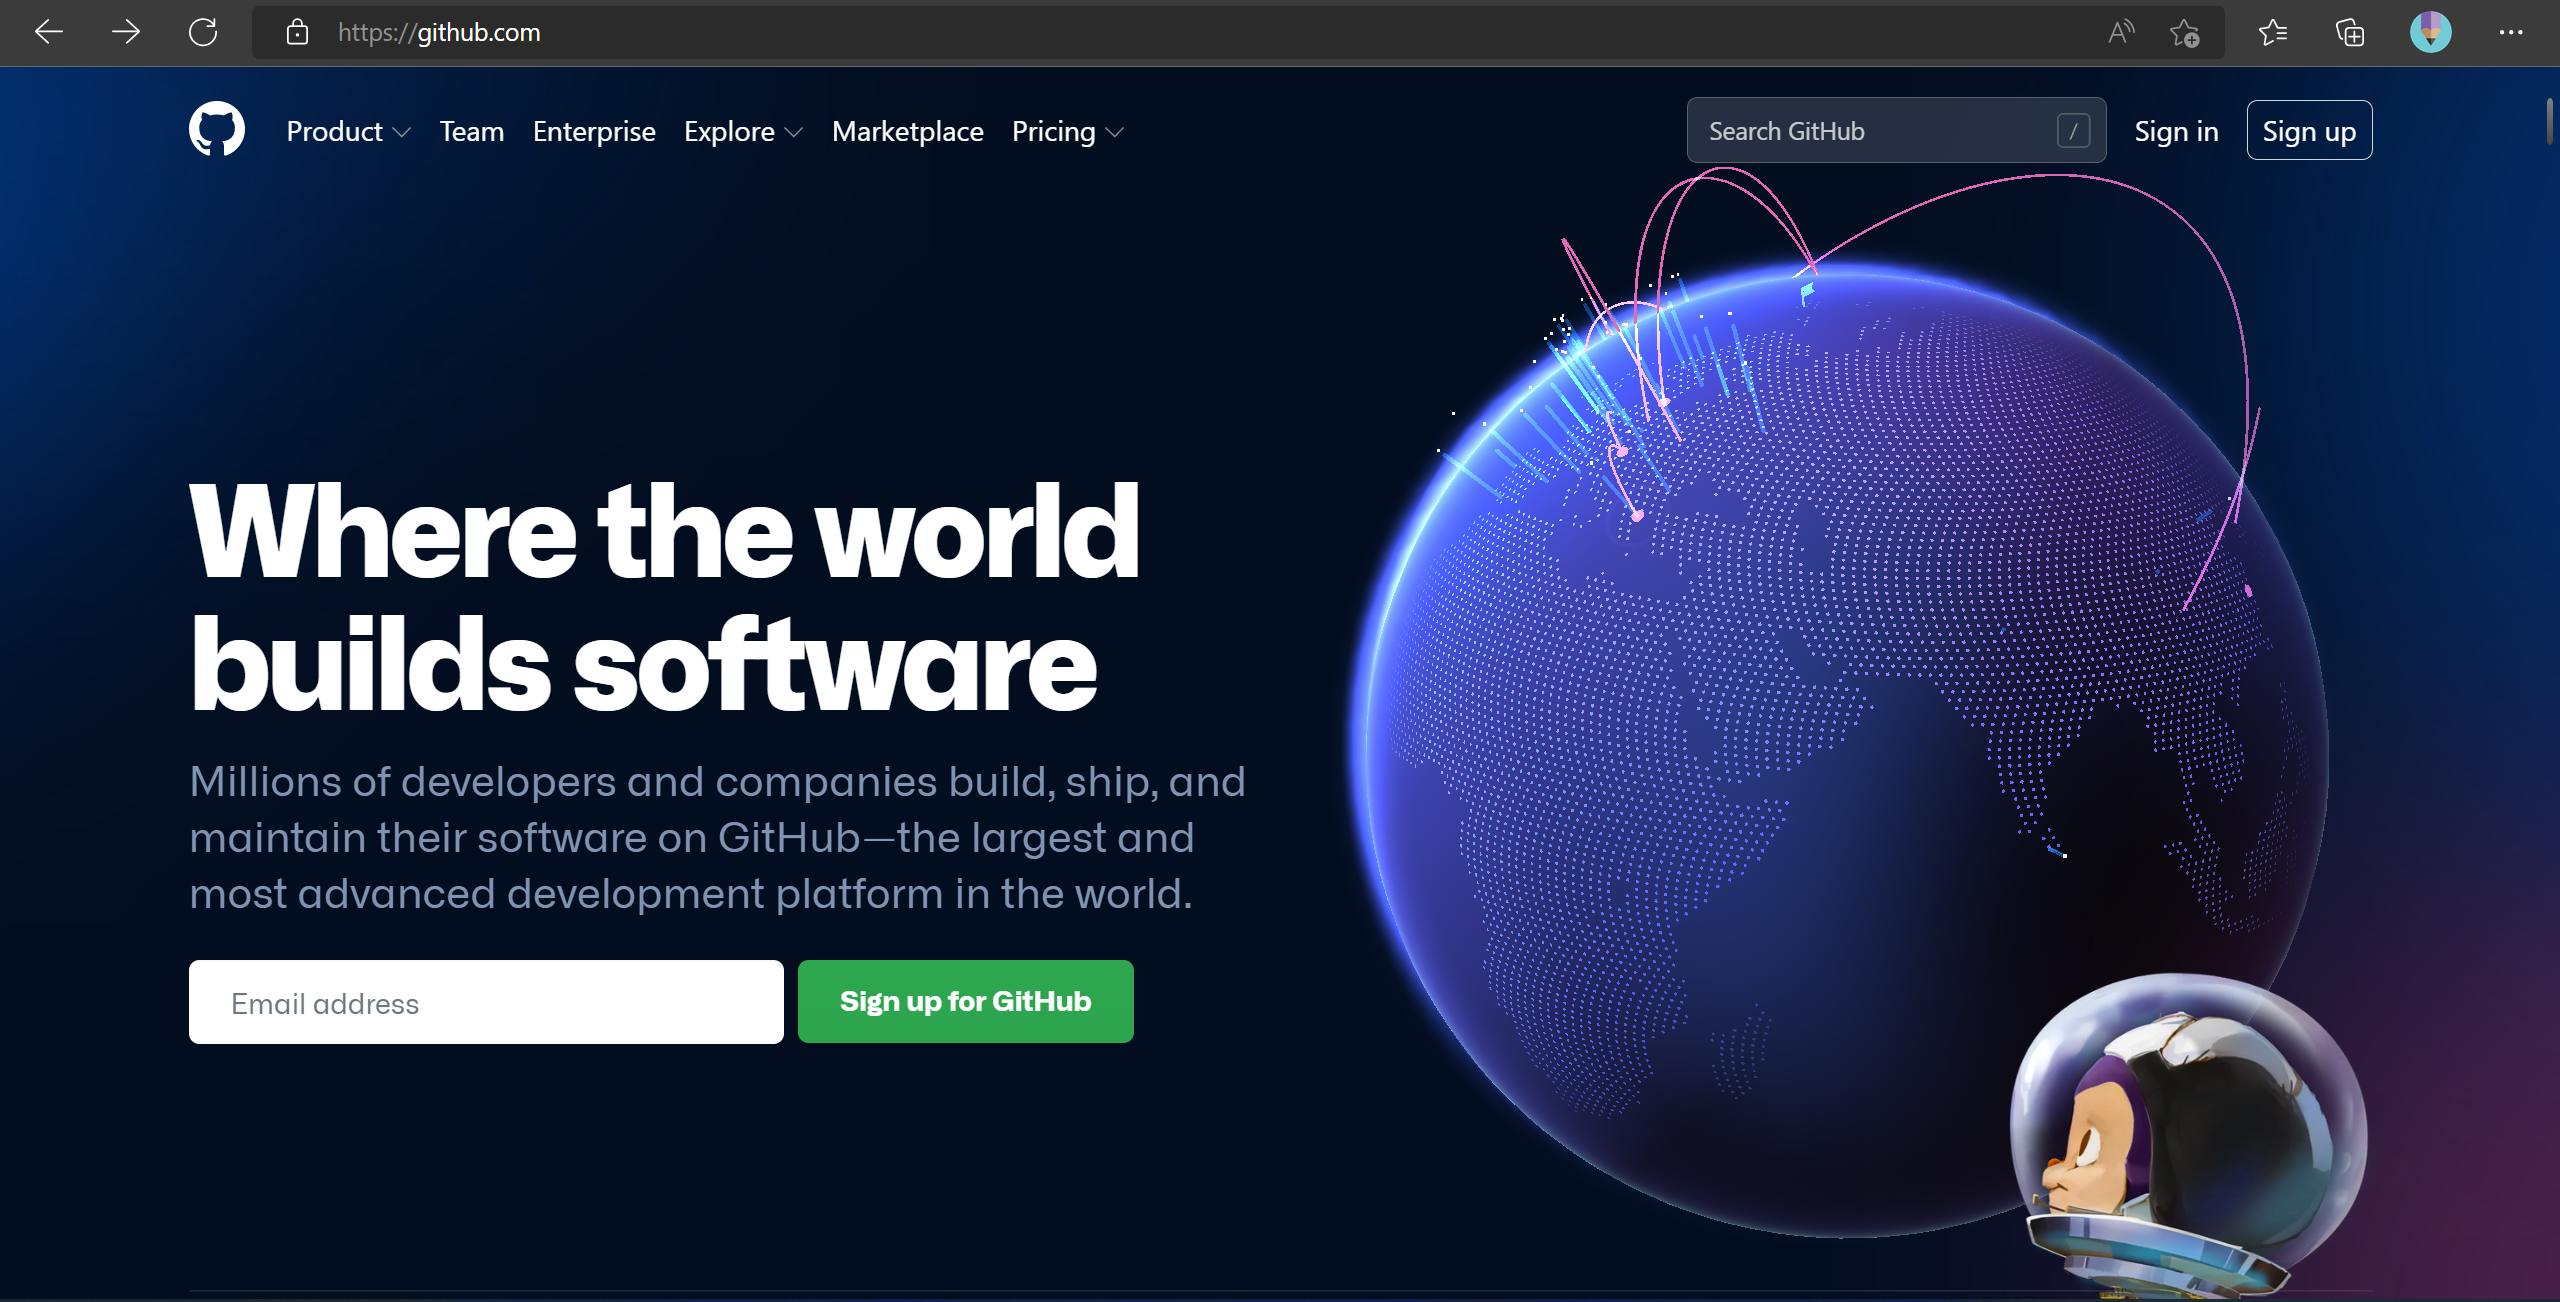
Head on to https://www.github.com and enter your email id to get started with the profile creation flow. You'll be asked to create a new password and then you'll be redirected to your brand new github account.
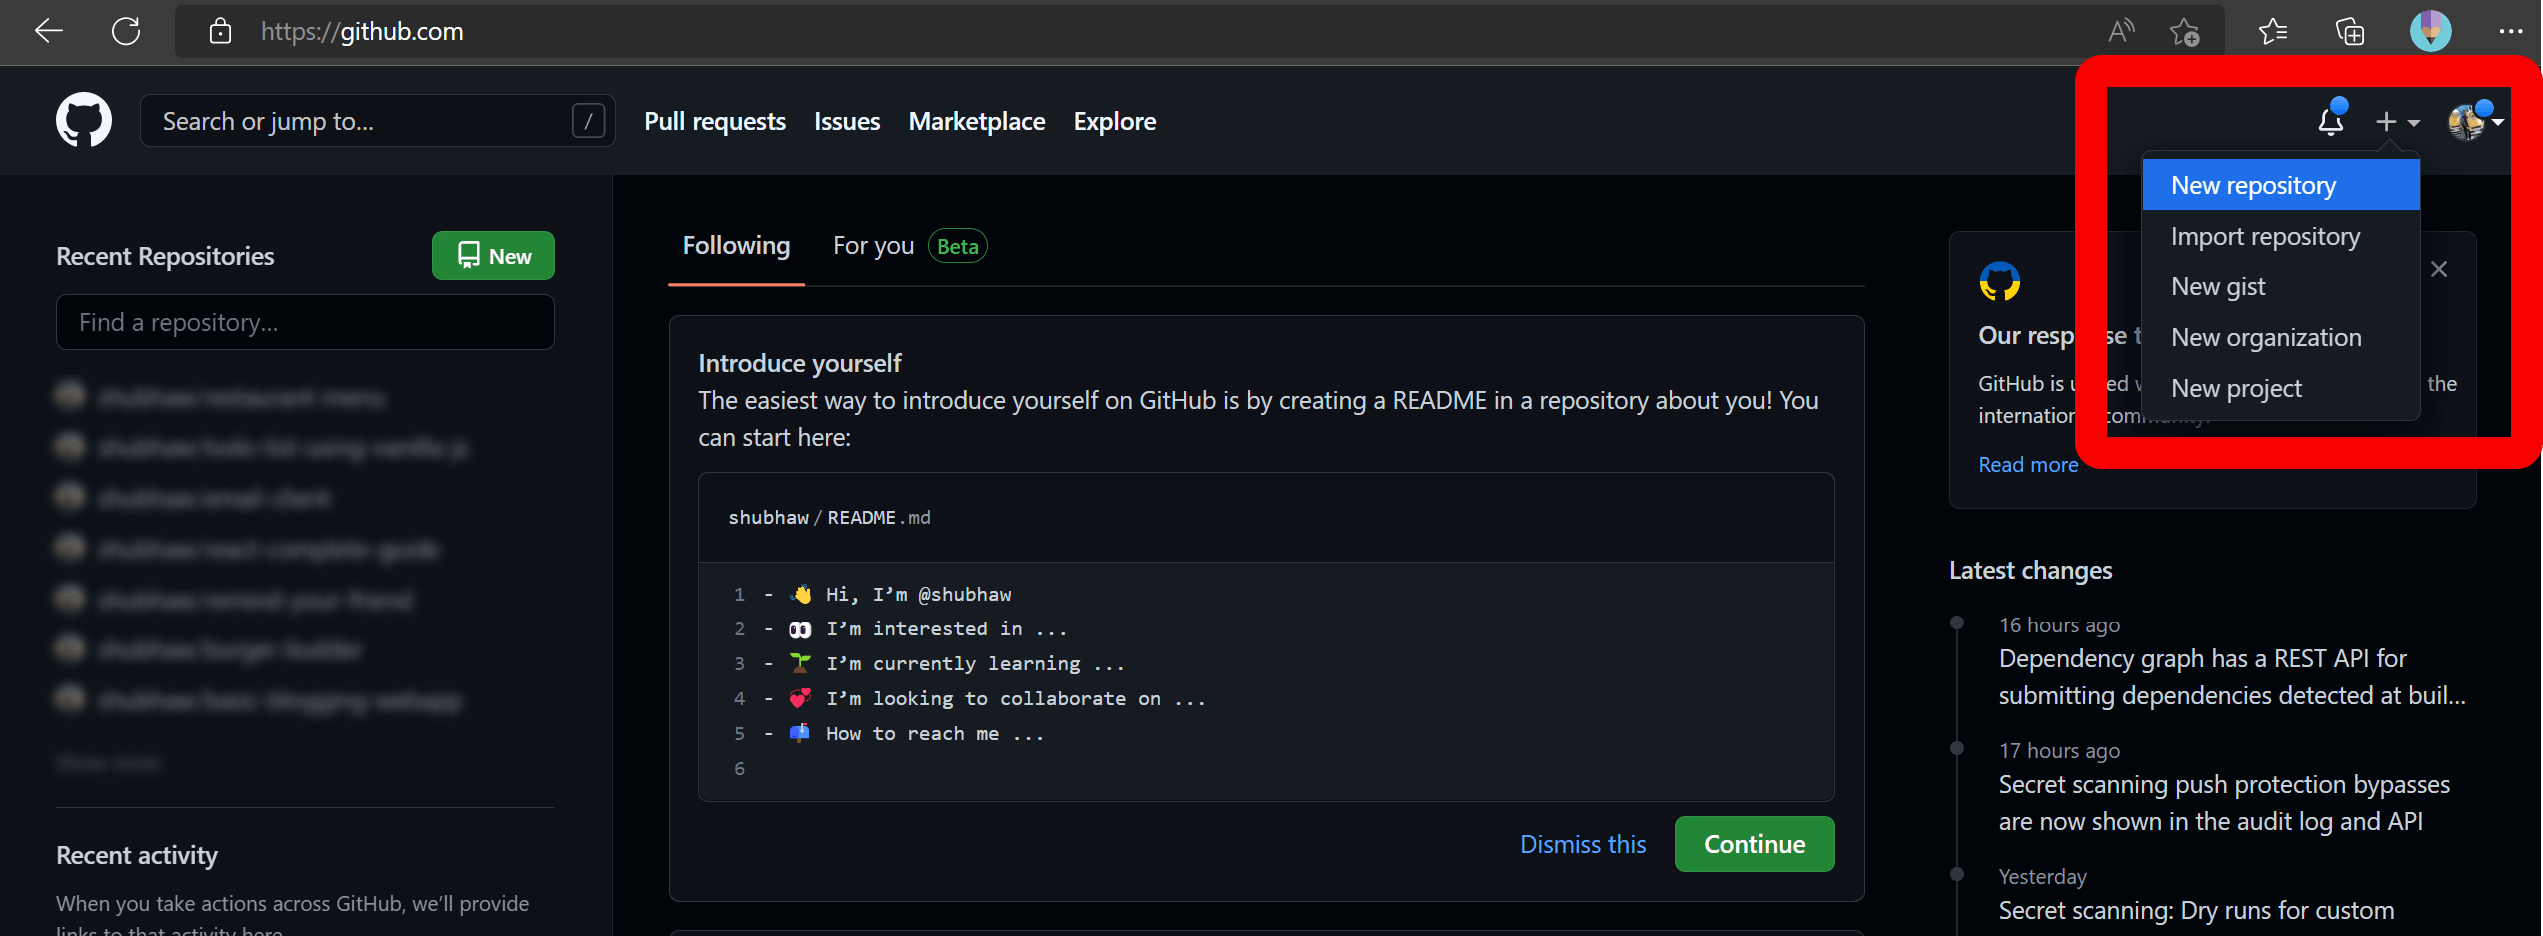
Creating a new Github repo
After logging in, you will be presented with the screen shown below.
- On right top corner, you'll find a
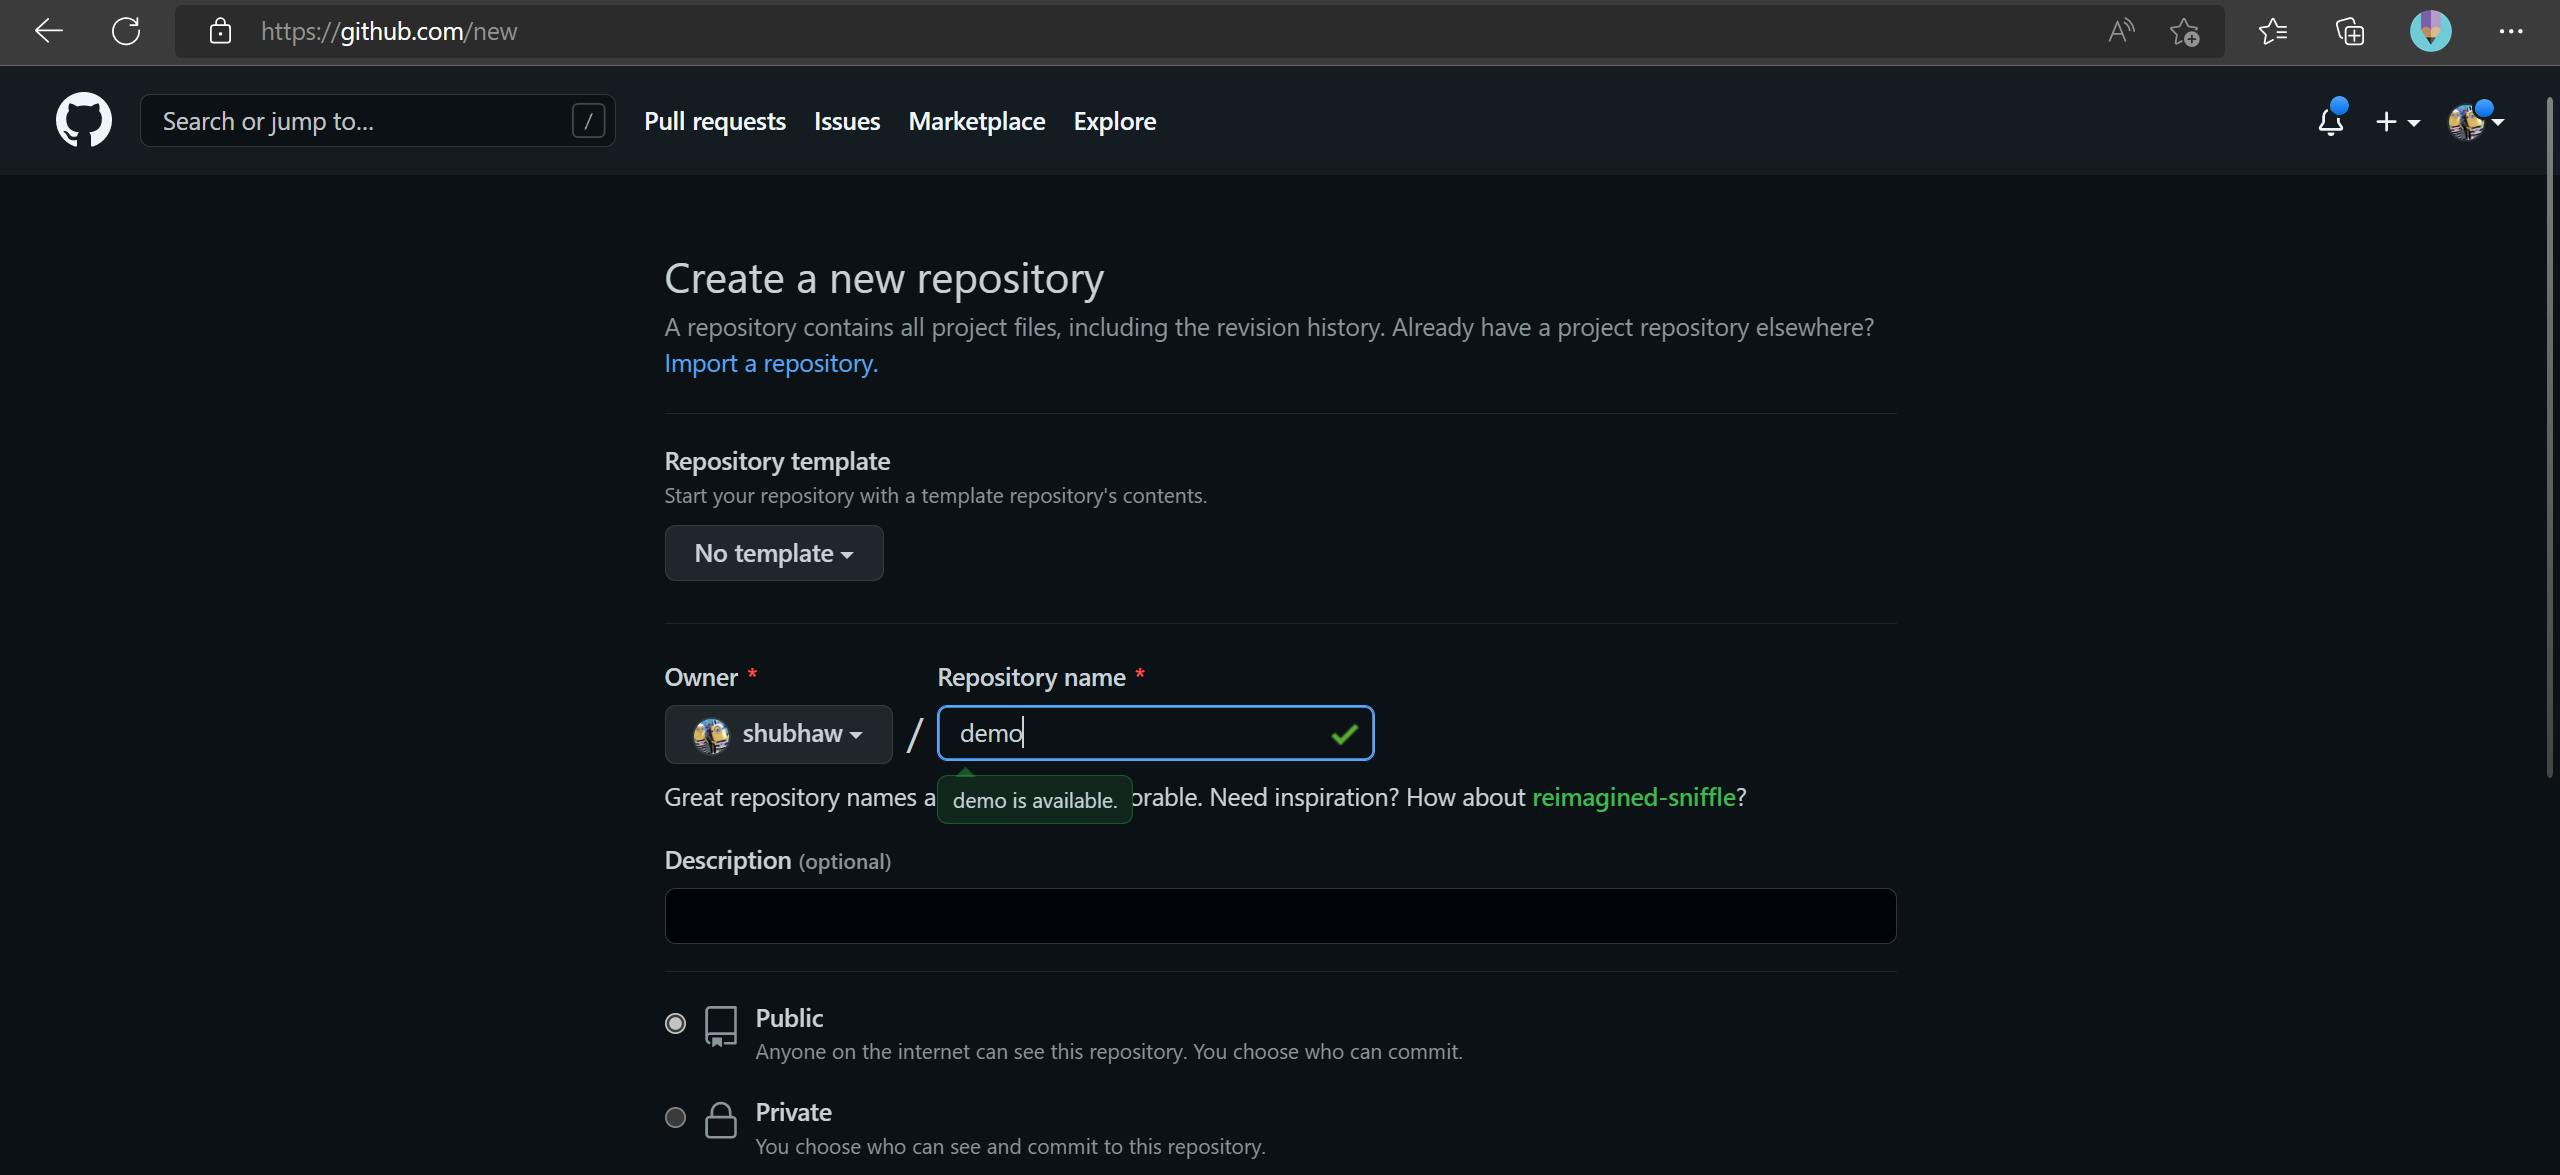
+icon. Click on it and a drop-down menu will appear whose first item would beNew Repository. Click on that. - Then write your repo name in the next step. Note that the repo name and your project name can be different but it's better to keep the names in sync for consistency.
- Then click on
Create Repositorybutton and you are done. You have created a repo on Github.
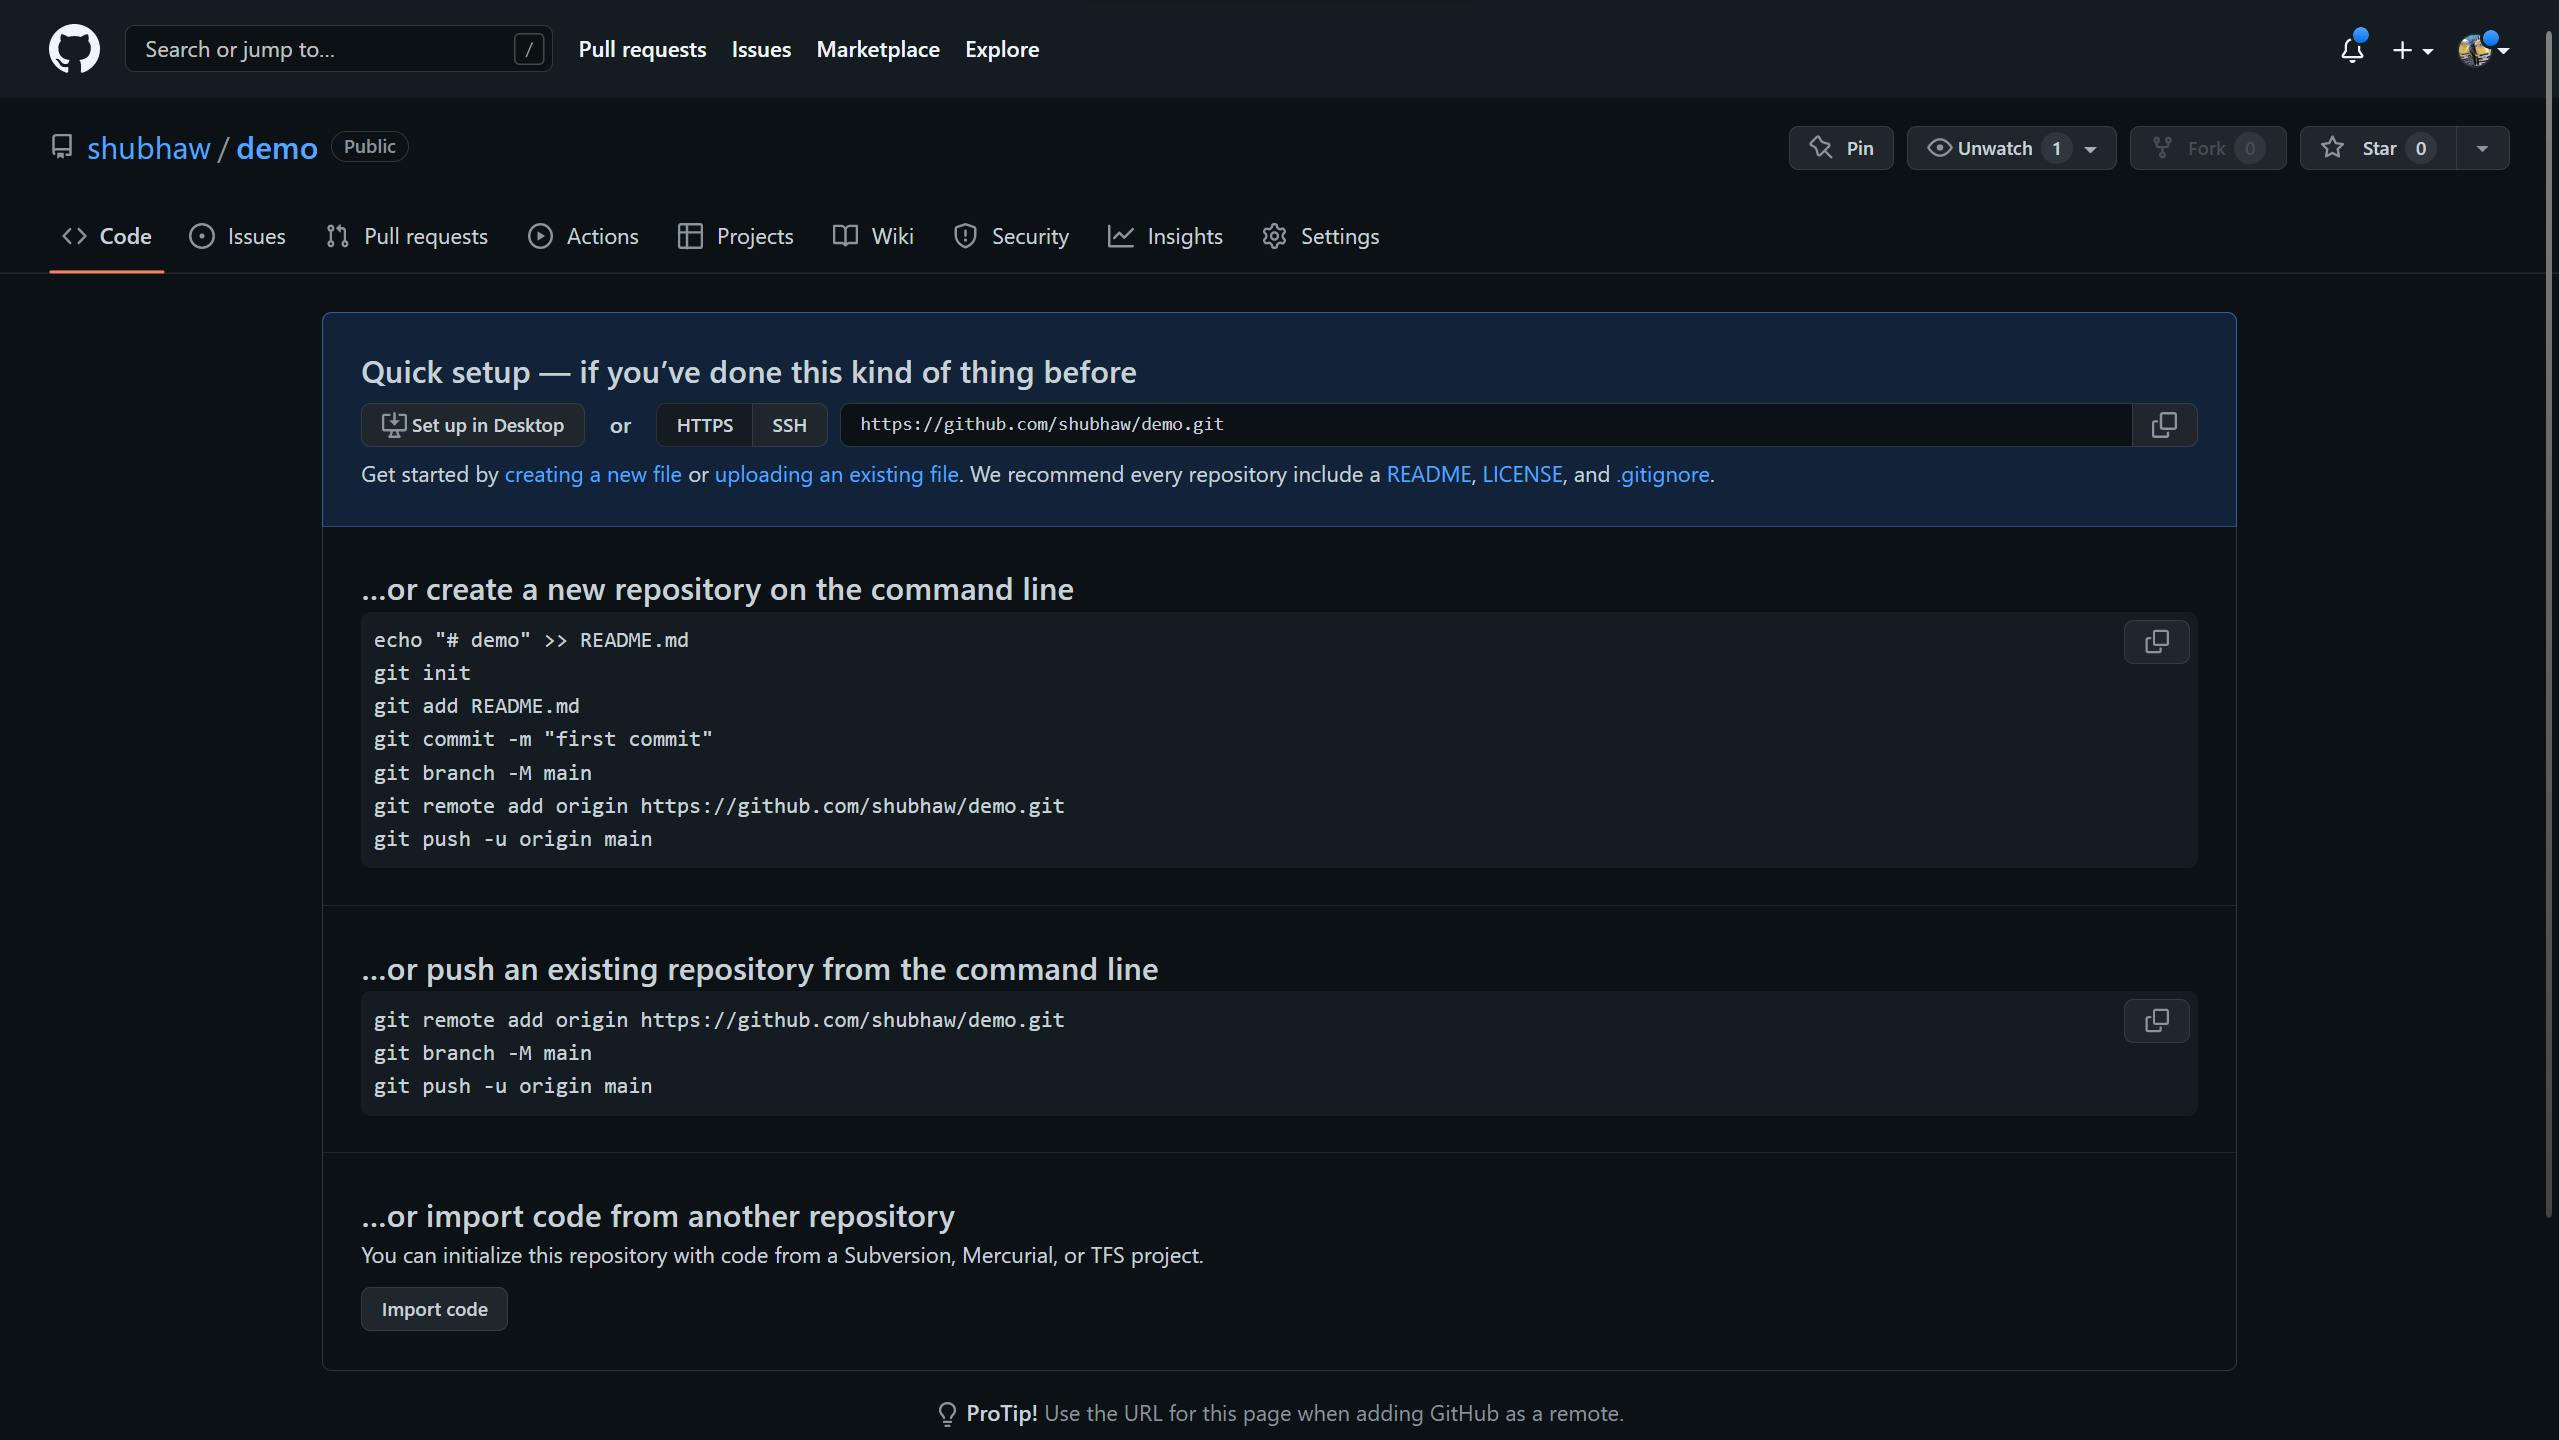
Connecting your Github repo with your local git
Now let's connect this with your local repo. If you look closely on the current github screen (see the screenshot above), you'll find all the steps you need to do and we have already completed more than half of those while configuring our local repo. Also, you would find a URL in the format https://github.com/<your-username>/<your-project-name>.git. Keep this handy.
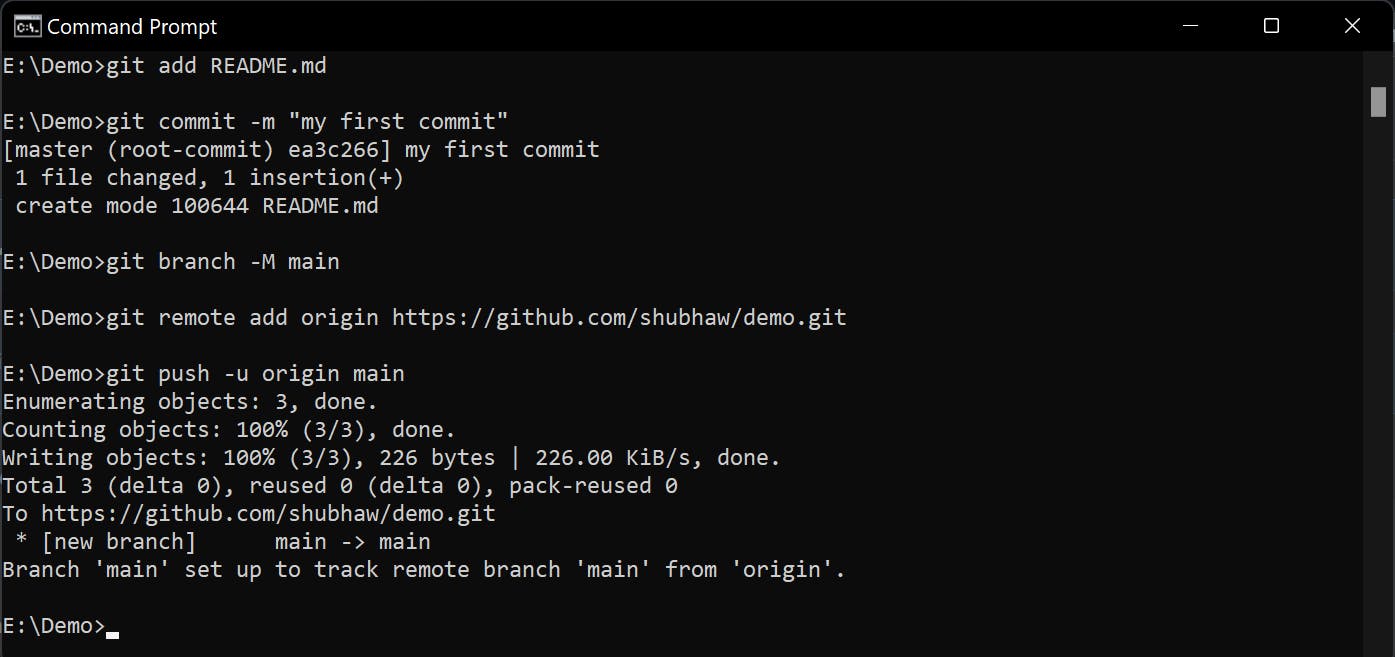
Now let's complete the rest of the steps. Open the Command Prompt or Terminal on your local machine.
Optional: The branch which was created on your local machine by default was named as
master. Github nowadays is recommending to change it's default branch name tomain. So, you can change the branch name by typing:git branch -M mainNow, to connect to the github, type:
git remote add origin https://github.com/<your-username>/<your-project-name>.git.
Here, you are instructing git to add a remote connection present at https://github.com/<your-username>/<your-project-name>.git and call it as origin. So, from now on, instead of you typing the github repo's full URL, just reference it using origin.
Naming your remote as
originis a convention, not a rule. You can name your remote as anything you want, e.g.,git remote add <your-fav-name> <github URL>
Push changes to github:
git push -u origin mainorgit push -u origin master-ustands for upstream here. So, you are pushing your changes to a upstream branch namedmainat the remoteorigin.
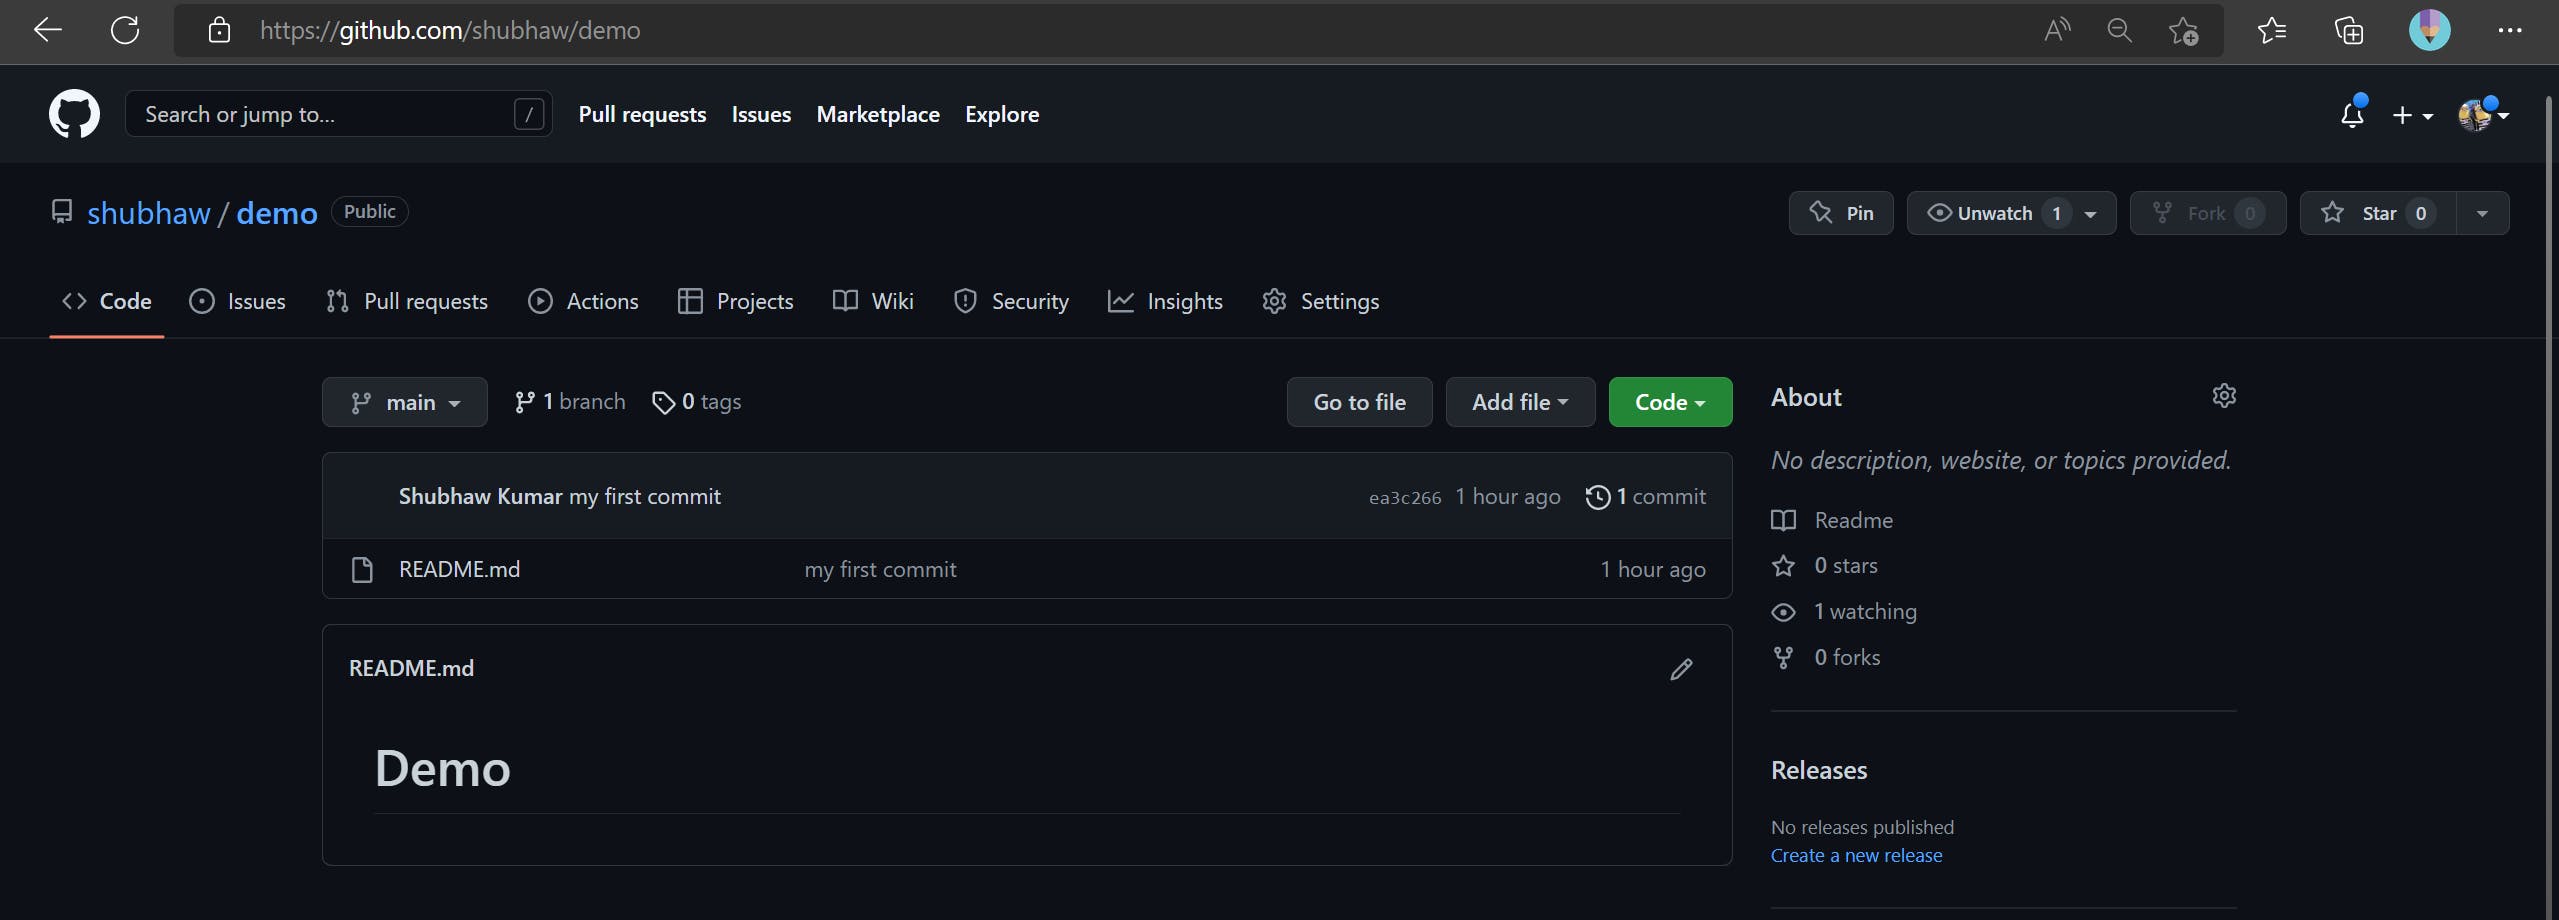
Now, when you refresh that Github page (github.com/), you would see something like:
That's it! You have successfully:
- understood the difference between git and github
- installed git and created a local git repo
- created a Github account and a repo
- linked your local git repo to a github repo
Give yourself a pat on the back! Get up and do some stretching. Drink a glass of water and start coding!👩💻